If you’ve recently bought aftermarket headlights or are planning to buy some, it’s important to know how to adjust them properly. Fortunately, it’s not a terribly complex job and should only take about 15 minutes with the right tools.
- Dry erase marker
- Multi-tip screwdriver or socket wrench
- Pencil
- Tape measure
- Wall
- Roll of dark tape
Some optional tools include an impact driver, deck screws, a sheet of plywood, and a sawhorse if you don’t have a building wall nearby. You’ll need to perform this at night so the headlight beams will be easy to see.
Step 1 – Set Up
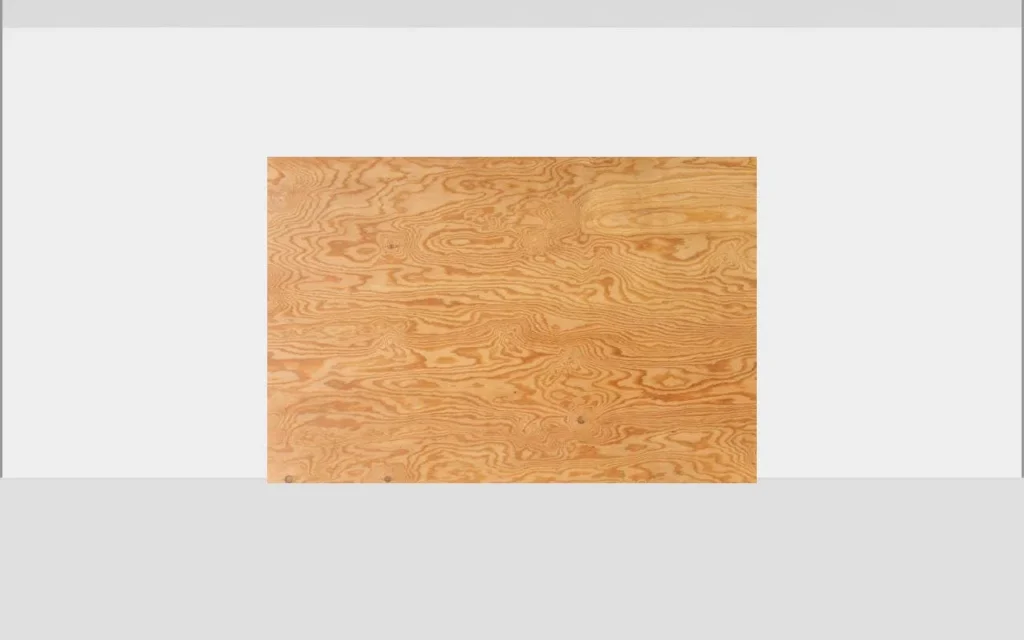
Once night falls, park your vehicle on a flat surface roughly 25 feet in front of the wall of a building. If you don’t have a suitable building wall that meets that criteria, you can also use a sheet of plywood leaning up against something like a sawhorse. If it’s not sturdy, you can fasten it with an impact driver and deck screws.
Next, grab a solid part of your vehicle near the frame. Opening the door and grabbing the rim where it meets the floor usually works. Push down several times with all your weight to bounce the suspension. Let it come to rest. This ensures that your vehicle is as flat as possible.
Step 2 – Mark the Center Point of Your Headlights
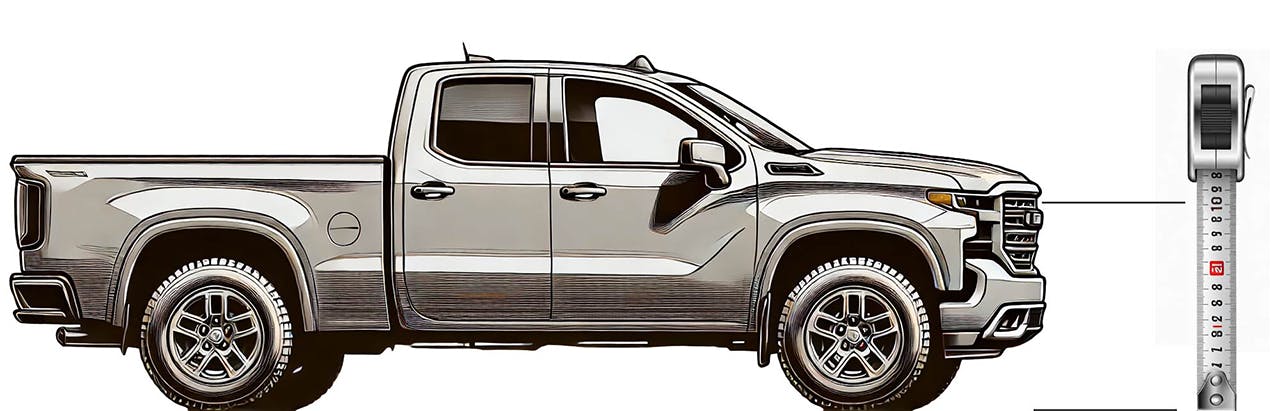
Use a tape measure to find the distance between the ground and the center point of your headlights. This is the center of the lens directly over the low beam bulb. Mark the spot with a dry-erase marker. Do the same for the second headlight, and then measure the horizontal distance between both marks.
Step 3 – Set Up Your Reference Surface
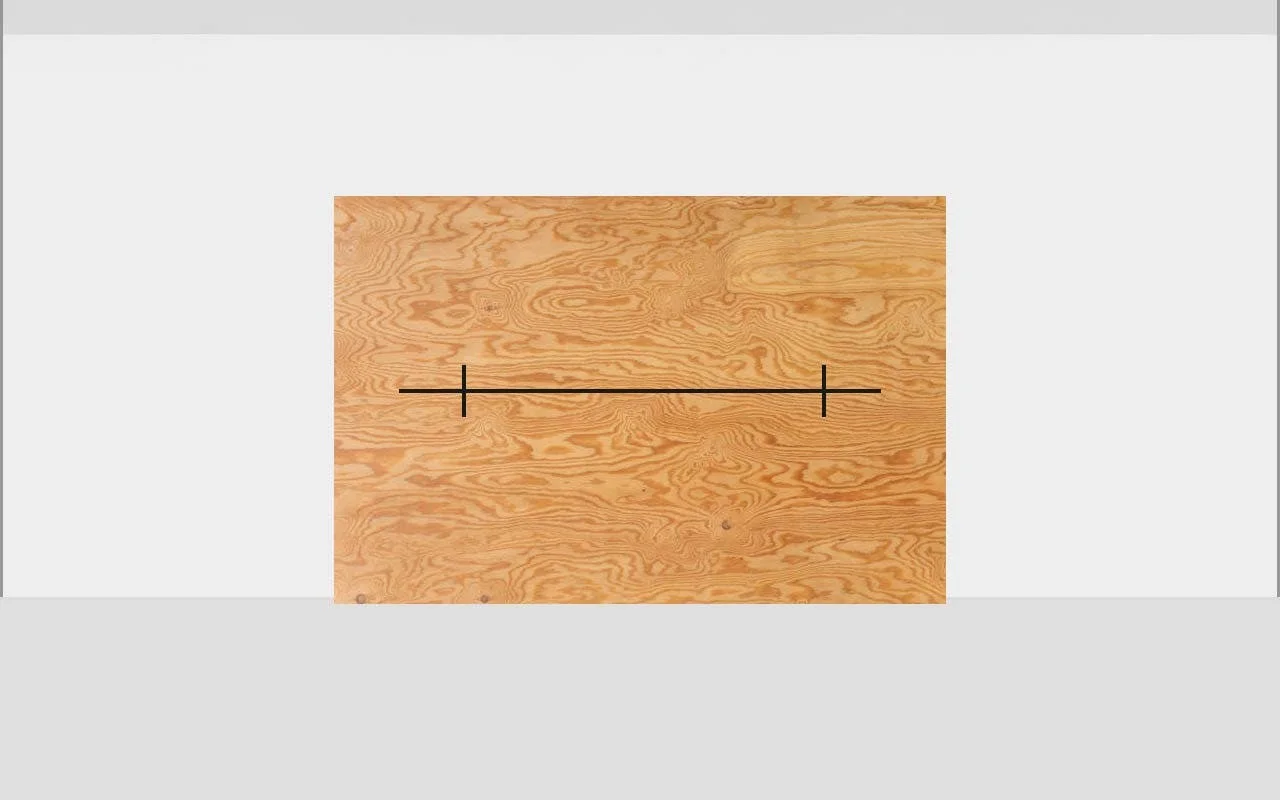
Whether it’s a wall or a piece of plywood, the next step is to prepare your reference surface by making marks with a pencil that match the height of the mark on your headlight. Attach an eight-foot strip of painter’s tape to the surface along the marks you made.
Measure four inches down from the top of the tape on the left third of your plywood sheet. Apply a two-foot strip of tape parallel to the longer strip above it. Do this on the other third of the surface, but put this one only two inches from the top strip.
Step 4 – Check Local Requirements
Before you start adjusting your headlights, check your owner’s manual for any recommendations on aiming your vehicle’s headlights. You should also check if there are any headlight height requirements in your state or area.
Step 5 – Adjust Your Headlights
Open your hood and find the adjustment bolts or gears for the headlights. They should typically be located directly behind the headlights. Turn your vehicle on and switch on your low beams. Note where the beams hit the wall or plywood.
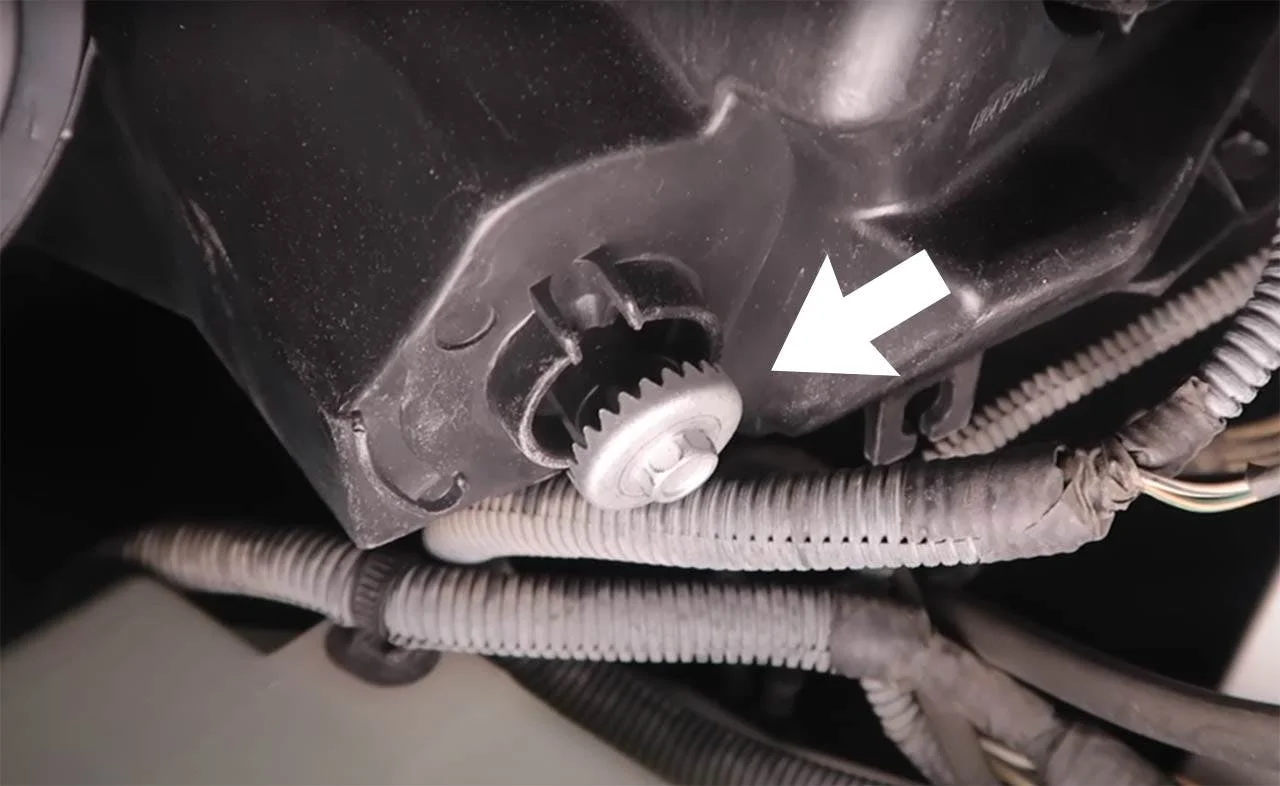
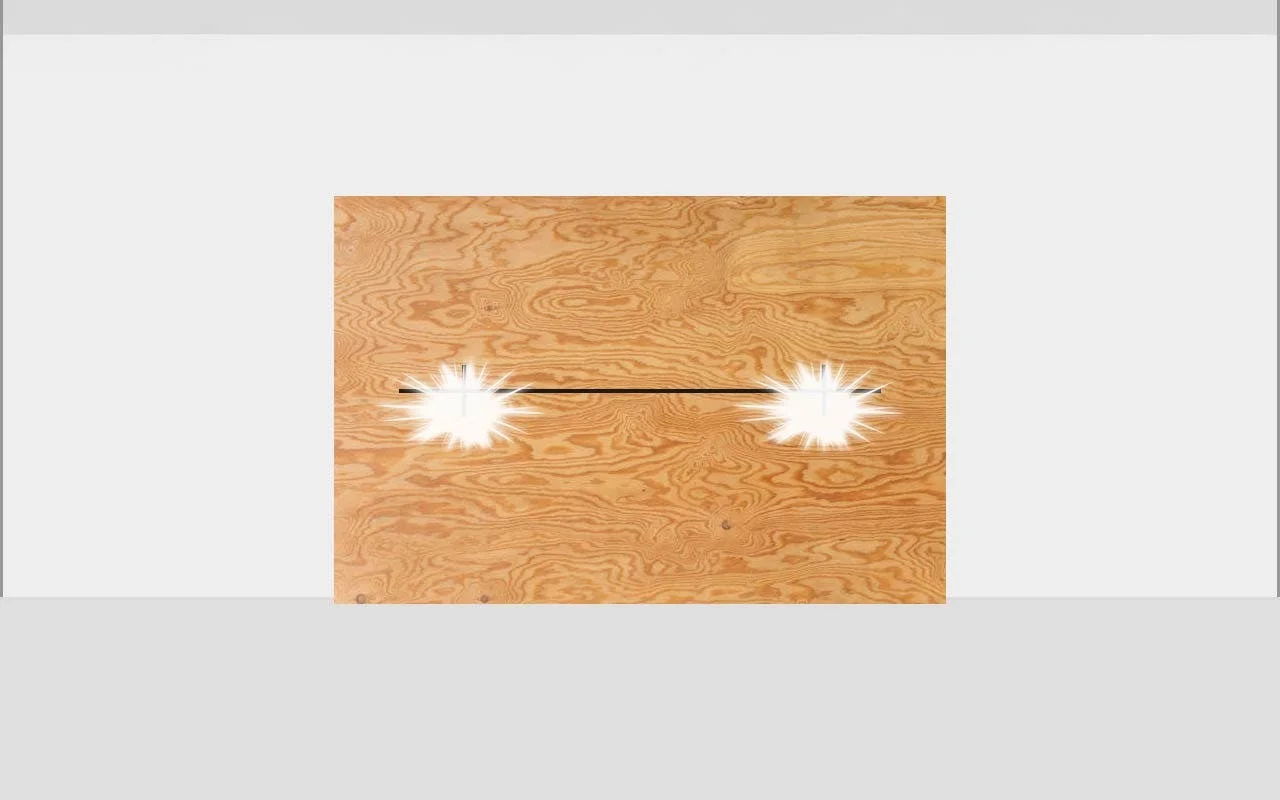
Using the socket wrench or screwdriver, adjust and aim the driver’s side beam so the top of it is level with the short piece of tape on the left. Adjust the passenger side beam in the same way with the short piece of tape on the right.
Types of Aftermarket Headlights
There are some different types of aftermarket headlights available, but most modern headlights are projector headlights. These are more advanced versions of the previous reflector headlight style. A magnifying lens increases brightness to provide a more balanced light beam. HID and LED bulbs will work with projector headlights.
Another type of headlight is the halo headlight. These have a circular light pattern and the most common type is the CCFL halo headlight, which uses cold cathode fluorescent lighting tubes filled with cooler-burning gas to eliminate hotspots. LED halo rings are also popular and some come with the ability to change color on demand.
Most modern cars come with LED headlights rather than halogen these days. If you’re planning to upgrade your lights with aftermarket headlights, it’s a good idea to choose LED simply for the additional brightness and longevity.
The Aftermarket Headlights We Carry
Almost everything we stock in this category is a round replacement lamp — 7-inch, and in one case 5 3/4-inch. That is the size used on the Jeep CJ, YJ, TJ and JK and on a long list of older trucks and SUVs, and it drops straight into the factory bucket, so the install is a swap rather than a wiring project.
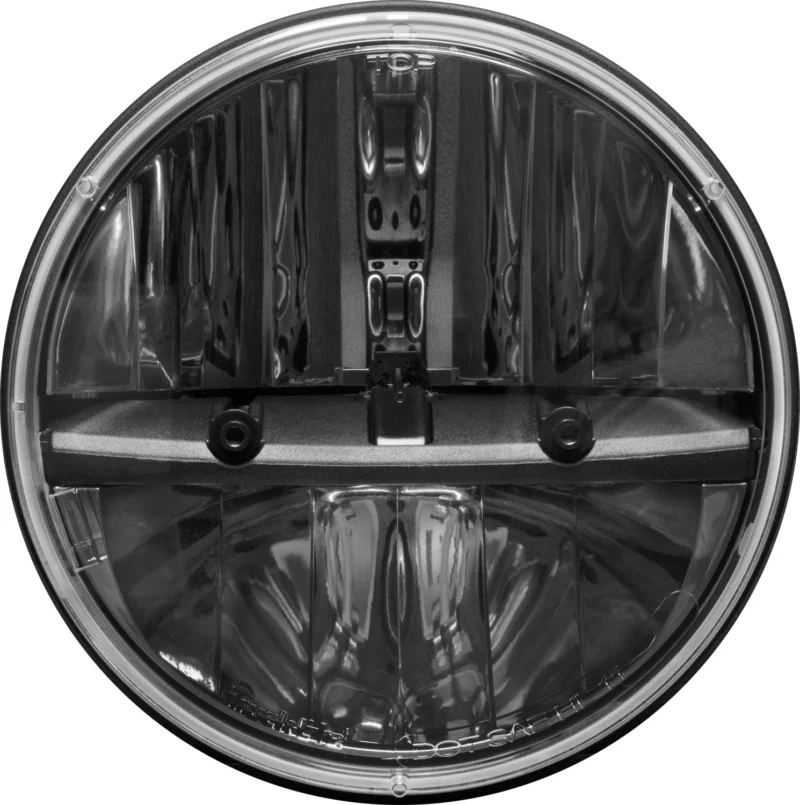
RIGID sells the Truck-Lite headlight kits, LED units meant for light, medium and heavy-duty trucks, off-road rigs, classic cars and Jeeps. The 7-inch round LED comes as a single or a pair, and there is a version for 2007-2013 Jeep JK models that includes the anti-flicker adapters those Jeeps need because of their PWM electrical system.
Rugged Ridge makes the same 7-inch lamp two ways — a sealed-beam LED that replaces an incandescent or halogen bulb directly, and a crystal H4 halogen version for CJs and Wranglers. Rampage makes SAE/DOT-approved halogen conversion lamps with die-cast aluminum housings and clear glass lenses, in 7-inch round and 5 3/4-inch round, and they take replaceable H4 bulbs.
Whichever you pick, check fitment against your year, make and model before you order, because none of these are universal.
You can rely on H&H Truck Accessories for a wide variety of aftermarket headlights by many top brands. When you buy aftermarket headlights at H&H, you can get them professionally installed at any location and we will also properly adjust them so you can be on your way.